Datasets
Dataset Definition : 
This section explains using Datasets. You can access to all of datasets already created. This interface enables you to edit results, tag and create datasets. You can apply some actions on all of the datasets.

- Enables you to create a new dataset. When your dataset is created, if you want to work on this dataset you have to return on the first page with the list of datasets.
- Enables you to merge two datasets (datas of the second dataset are added to the first dataset). You have to select just two datasets (no more).
- Enables you to delete the selected dataset(s)
- Option list for each datasets :
- Object Detection (
 ) : View or Edit
 - Change Detection (
 ) : View or edit
 - Validation
- More :
- Edit : if you want to change the name or the description of the dataset
- Clone : to duplicate the selected dataset with all data (records, zones, ...)
- Download as GeoJSON
- Move to... : this function enables you to move your dataset in another project (that have to be an existing project).
- Object Detection (
Edit (and view) option
For these options you can choose between Object Detection () or Change Detection (). The interface is different, but actions are the same.
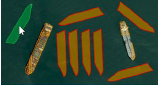
This documentation about dataset edition is based on Object Detection interface. This interface enables you to update or create records on existing zones.

In the Object Detection Interface, you can switch between all of the Zones that are in the selected dataset.
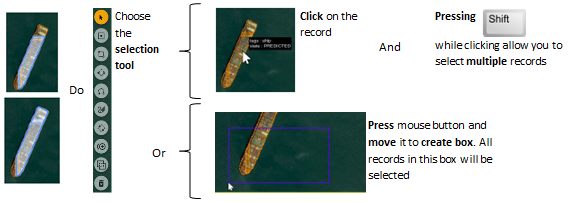
1. To select one or more record(s)
2. To Create a new record
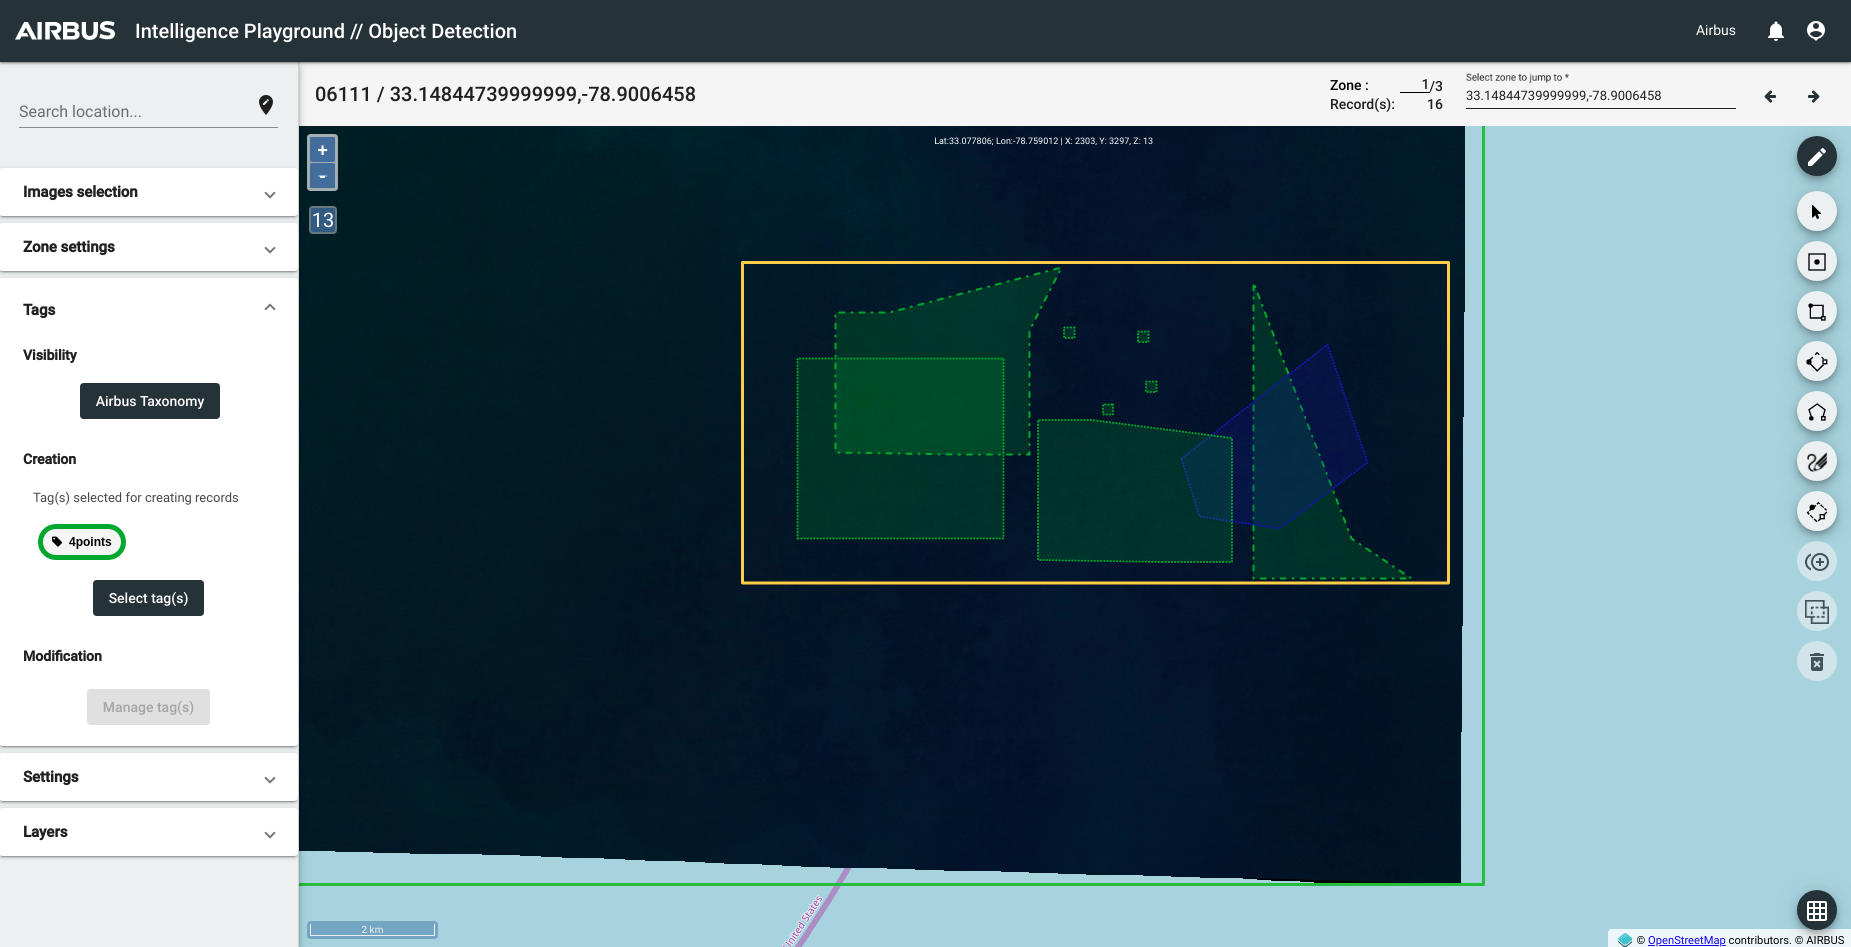
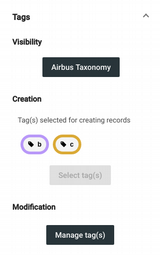
To draw a record you have to select one or more tag(s). For that you need to open the "Tags" section.
You can see the taxonomy associated, if you want to see all of the tags of this taxonomy you can click on the name of your taxonomy (here it is "Airbus Taxonomy"). You can change de visibility of the tags with the checks.
To select a tag for the creation record you have to click on "Select tag(s)". That will open a pop up to select tag(s). Or, you can select an existing record. The tag selected will be updated. If you want to delete one of selected tag, click on this tag.
Then, you have to draw with tools :
| Tools | |
|---|---|
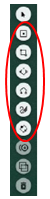 |
Draw Point |
3. To Duplicate one or more record(s)
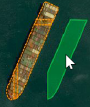
You have to select just one tag and click on Duplication tool : 
A ghost of the selected record is under the mouse. Click to create the same record where the ghost is. If you want to create multiple records, you can click on the ghost several times.
Also while duplicating, you can rotate the ghost :
- To rotate left : Press
 (for qwerty) or
  (for azerty).
 - To rotate right : Press

4. To Update an existing record
4.1. To Merge multiple records : You have to select more than one record. Then, click on this button : 
4.2. To Modify the structure of a record : Select only one record and move near an edge or a corner with your mouse. A point will appear on it.
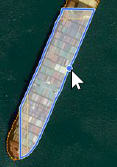
Press  and click on :
- An edge, it will create new corners
- A corner, it will simply move the corner
And move the mouse while pressing the key and the button
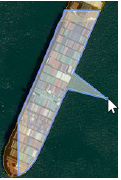

4.3. To Translate one or more records :
Select at least one record and move cursor over one of them. The cursor turns into a hand. Press mouse button and drag the selection.

4.4. To Delete one or more records : You have to select one or more records. And click on : 
 You can't to delete a record if his state is VERIFIED.
4.5. To Update tags for the selected record :
You can select one or more record(s). Then you can see the tags of the selected record in creation section. If you want to add modifications, you can click on "Manage tag(s)". This button open a pop-up where you can add or remove tag(s) with checks.
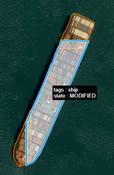
4.6. To Add a comment on a record : You have to select a record. Then you can add a comment with "Record Informations" section :

You can see your comment when you put your mouse on the record.
The difference between object detection and change detection interface for the edition : you can modify just the first image.
Validation option
You can see the Validation page for further details.